
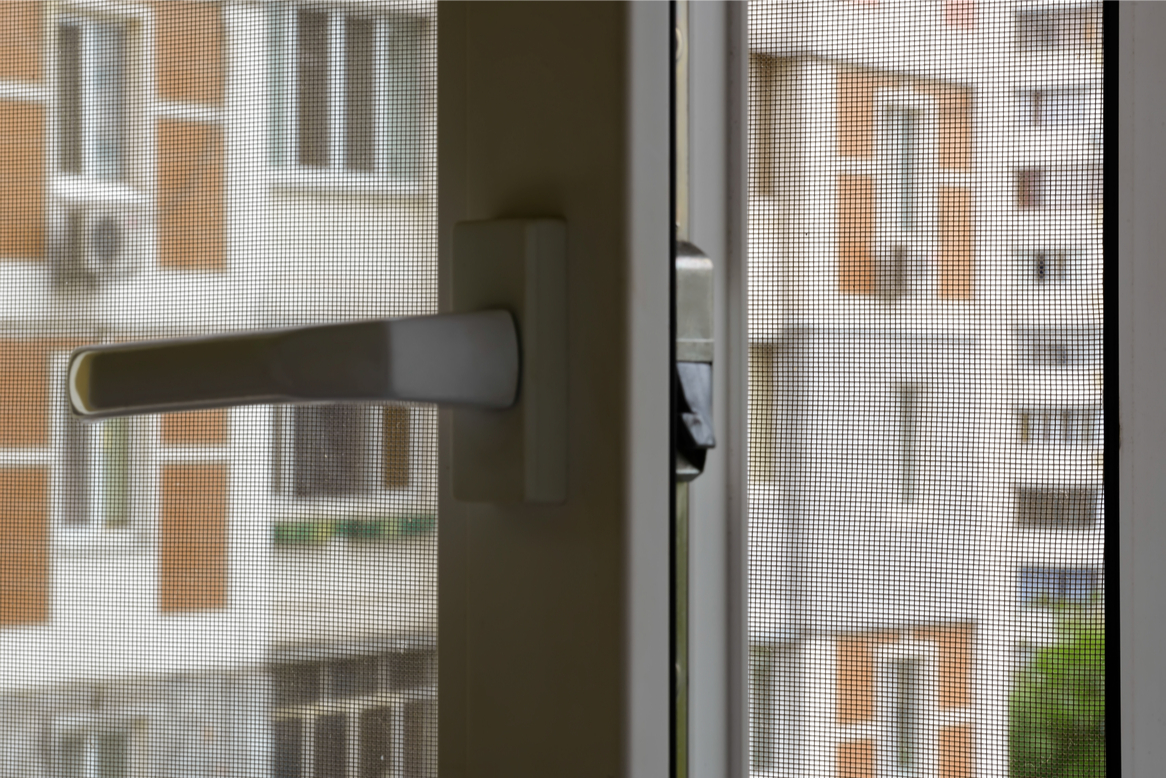
Various types of fly screens used for doors and windows are available in the market that is quite modern and stylish looking and used in most of the homes and offices.
Metal chain fly screens are usually very easy to clean and can be the perfect choice if you want to keep flies and any other insects out of your kitchen or living room during the hottest seasons of the year, while at the same time allow a cool breeze to get circulated freely. They are also quite easy to hang or remove, as you can simply roll the screen up during the winter season.
Premier Screens Limited is well-known manufacture in the UK producing highly functional and also easily maintainable chain fly screens meant for both doors and windows that are having a very modern and stylish outlook is also suitable for all offices and homes.
There are many different types of fly screens available to suit most of the installations and locations. Chain and roller type of fly screens are most suitable for both windows and doors while hinged screens are quite ok for doors and framed fly screens are particularly designed exclusively for windows.
If you are interested to install any fly screen in a DIY way then you will need the following:
- Aluminium fly screen frame
- Plastic fly screen
- Measuring tape
- Utility knife
- Hacksaw
- Cordless drill
- Corner connectors, 4/screen also screws
- Fiberglass screen mesh
Now follow the methods as mentioned below:
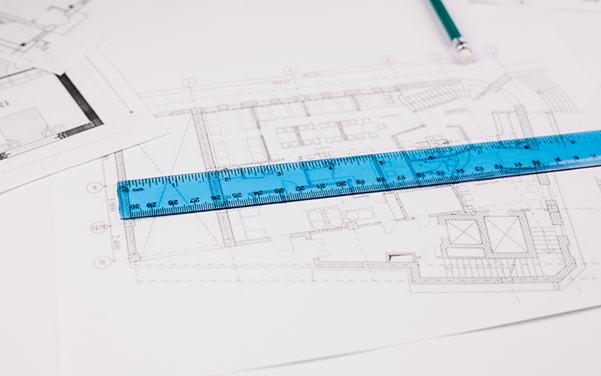
- By using tape take measurements of the window and note the space then allow a few mm clearance all around to decide your screen size. Subtract 3 mm from your measurement for tolerance.
- Set up a flat work surface and measure and mark as per the frame stock to size.
- Now assemble the frame of the fly screen by using the corner joiners. You can use a wood piece to gently tap corners into the position.
- Cut a piece of fiberglass mesh by keeping a 50 mm extra over-hang on all sides. Now place this piece over your frame and then cut diagonally the corners of the mesh.
- Now cut fly screen spline slightly more than required. Before you start inserting the spline it can be allowed to get soaked in a dish with hot water so that you can make it a little more pliable.
- Now start about 100 mm from the one corner and then push the spline in by initially using your finger, and then you can follow through by using the spline roller.
- This will then force the mesh and spline deep into the groove. Keep on doing this all around the frame. You may keep a bit of tension on your screen but not so much that you work around while working with the spline roller.
- Trim off if there is any excess mesh by using a sharp blade.
You can hold the screens in place by using 4 small plastic toggle clips. These will be secured to the window-frame by using a single screw. You can release them during cleaning and maintenance.


Comments