Turlock yards can look pretty identical from the surface, but understanding the ground below you will detail how, where, and when you dig, drain, or build. If you understand our soil types first, you can probably avoid wasting energy, time, and money on a do-over. As you read this article, you will be better able to plan smartly, execute actions more safely, and enjoy cleaner work on the landscape you will be creating.
Clay vs. Sandy Loam
In Turlock you have areas with heavy clays next to others with lighter sandy loams. Clays hold water, swell when wet, and shrink when dry—movement will challenge patio surfaces and small walls. Sandy loams tend to drain better and are easier to mold and manipulate while working, but sandy loams will ravel out of steep cuts during earth movement.
With clay you will be prepared for slower work and more compaction to get to a stable base, then stage your site grading in thin lifts while allowing time for each lift to stabilize. Sandy loams will grade quickly, but you will want to utilize solid edge control and good backfill on slopes to avoid any sloughing. Click this site for more details.
Testing Soil Stability
Prior to bringing in any machinery or trenching for drains or irrigation, do some quick field checks before you get started. There are really simple field tests you can perform that indicate to you whether your plan needs reinforcing or adjustments and will help you size up footing depth without guessing.
- Squeeze test: If you have a damp handful of soil that will form a stiff ribbon after squeezing, it indicates clay. The more crumbly the soil, the more it leans towards sandy.
- Probe test: If you can probe an average length of rebar easily into the soil, that indicates looser soil; if you hit a depth with sudden resistance, you are most likely in dense clay or some buried debris.
- Jar test: Shake a jar of soil and water. Sand settles first, silt next, then clay—use this to help guide your compaction. See this link https://actat.wvu.edu/files/d/3cf372e5-ba40-450c-a3ad-cd774f4c3345/jar-testing.pdf for more info.
- Test hole: Fill a small hole with water. If it drains slowly, you may need to consider the installation of some sort of underdrains; if it drains quickly, you’ll likely just need moisture conditioning.
Drainage Solutions Explained
Clay-rich yards need a place for water to go, or you won’t have any good zones for compaction in your excavated areas. A basic French drain—a perforated pipe wrapped in fabric and surrounded with clean gravel—can help relieve saturation in zones adjacent to patios or low edges of the yard or path. In sandy loam, simple regrading to slope away from structures may be adequate.
If you’re removing old slabs or redoing a hardscape, a local Turlock demolition contractor could take care of both concrete removal and drain trenching in one visit. Maintain a steady slope for pipe, protect the bedding of your drain pipe from fines, and daylight the outlet or tie in an approved discharge so stormwater can exit legally.
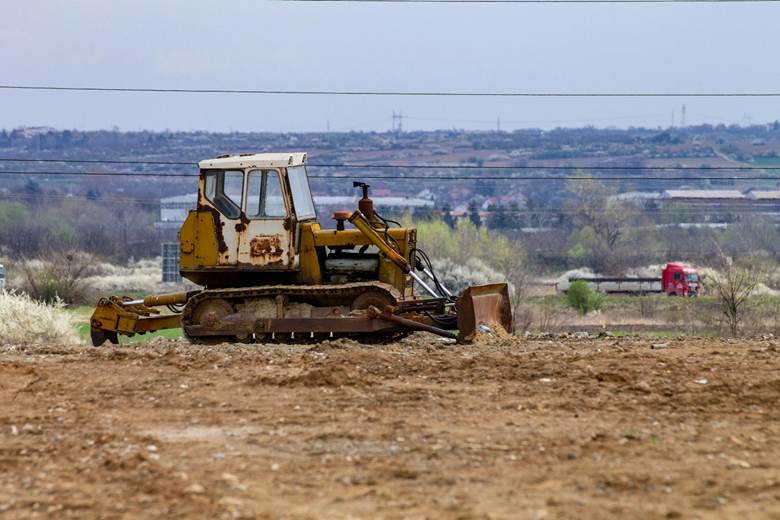
Equipment Size Matters
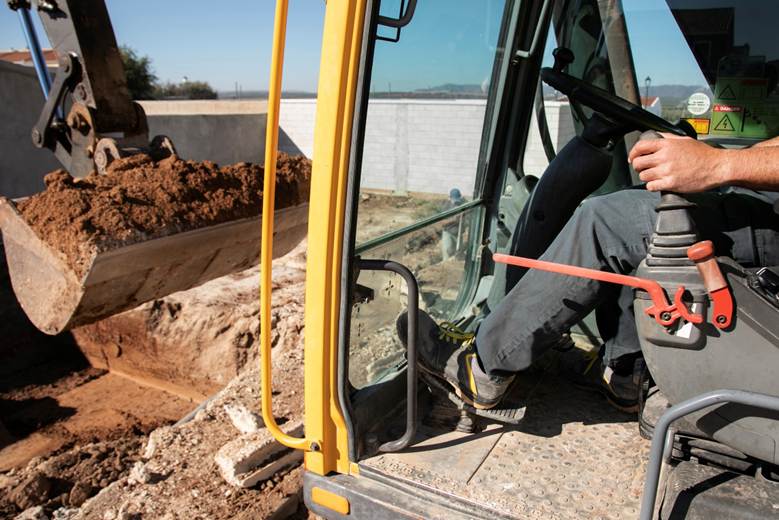
Using the right-sized machine will save you time and stop you from over-digging. On smaller, tight suburban lots, use a mini excavator or compact track loader. The wider the tracks, the better it will do in soft clay—a toothed bucket can also deliver a little better control in sandy loam.
It is a good idea to match the bucket width to the given task: narrow for irrigation lines, mid-width for planting pits, and wide for footing trenches. Plan your haul paths first to minimize traveling over freshly compacted areas. Spread base rock or backfill in 4–6 inch lifts and compact each lift back. This way, you will not get out of shape with respect to your finished grade after the first rains.
Preventing Erosion Damage
Until plant roots, or a type of hard-scape take hold, fresh cuts are very vulnerable. Light soils will wash away overnight, and wet clay can smear and block drainage. Protect all disturbed areas as soon as you complete grading.
- Stabilize a slope: If you have exposed banks, use straw wattles, silt fence or blankets until roots take hold.
- Manage runoff: Create temporary swales that direct and flood water around your work zones, not through.
- Cover stockpiles: Use tarps to cover soil piles, they should be away from drains, and place a small earthen berm to catch any cross-contamination of sediment.
- Finish strong: As soon as you finish your final site grading, the next thing to do is seed or mulch immediately, then lightly water to saturate and lock the fibers at the surface without creating ruts.
Establishing and incorporating these habits in your project; careful compaction, intentional Moving earth including clean trenching, proper backfill, and good drainage, you will develop a Turlock landscape that holds its shape, sheds water, and has lower maintenance year after year.